How to Use Cable Tie Magnets to Attach Fairy Lights: A Step-by-Step Guide
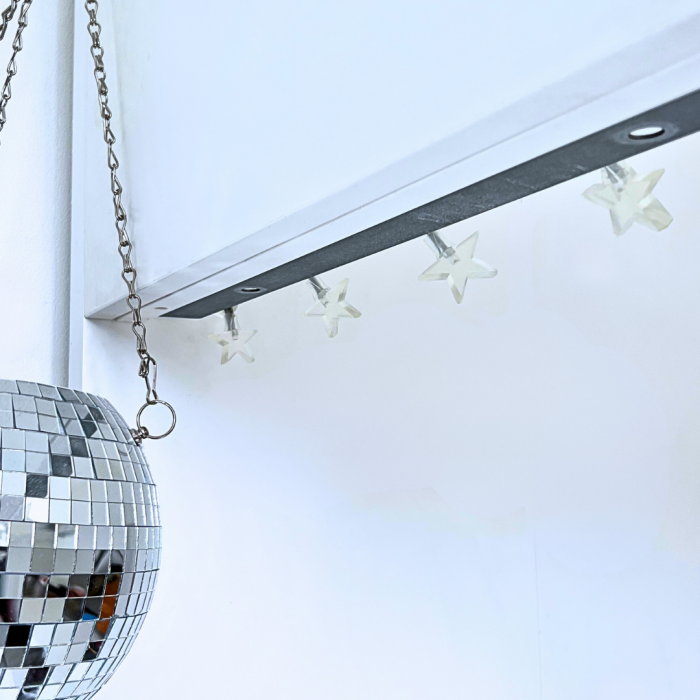
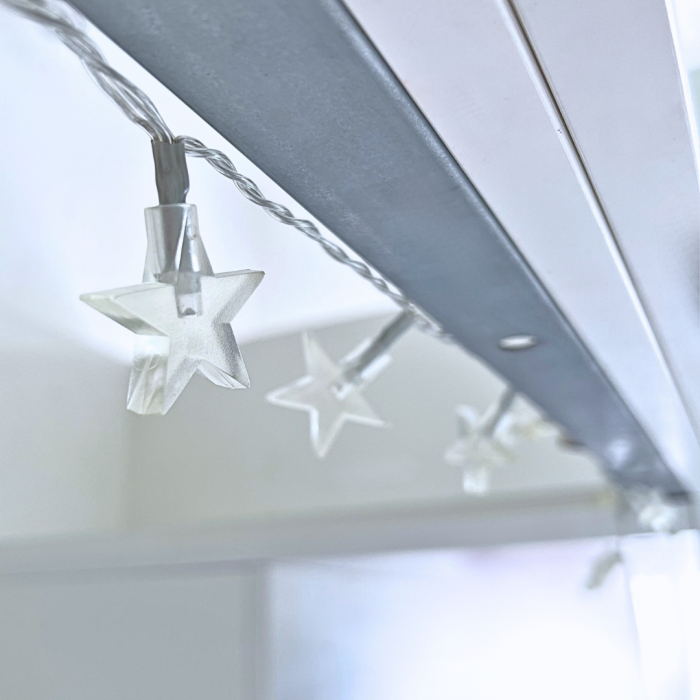
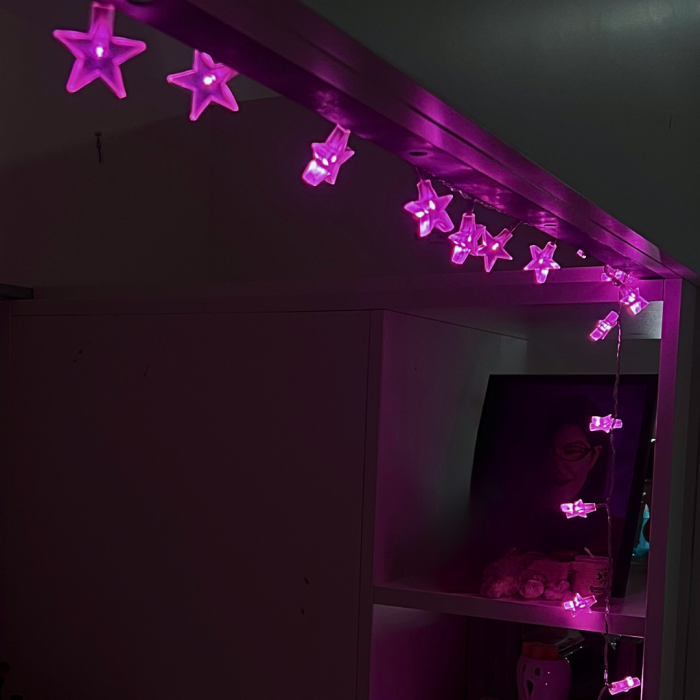
Fairy lights add a magical touch to any space, but figuring out the best way to hang them can be a challenge. If you’ve been struggling with pins and nails, you’ve been hanging fairy lights wrong the whole time. Traditional methods can damage walls and be a hassle to set up. Enter cable tie magnets—an innovative and damage-free solution for hanging your fairy lights. In this guide, we’ll walk you through how to use cable tie magnets and highlight the benefits over pins and nails.
Benefits of Using Cable Tie Magnets Over Pins and Nails:
- Damage-Free:
- Magnets can be applied instantly without using nails and pins, which can leave holes and marks.
- Reusability:
- Cable tie magnets are reusable and easy to remove without leaving a trace. Ideal for temporary decorations, such as holiday lights!
- Versatility:
- These magnets can be used on a variety of ferrous surfaces,making them a great solution for both indoor and outdoor use.
- Ease of Installation:
- Attaching fairy lights with cable tie magnets is quick and simple, with no need for extra tools.
- Adjustability:
- Easily adjust the positioning of your lights, by simply detaching and repositioning the magnets as needed. No hassle of patching holes or remeasuring.
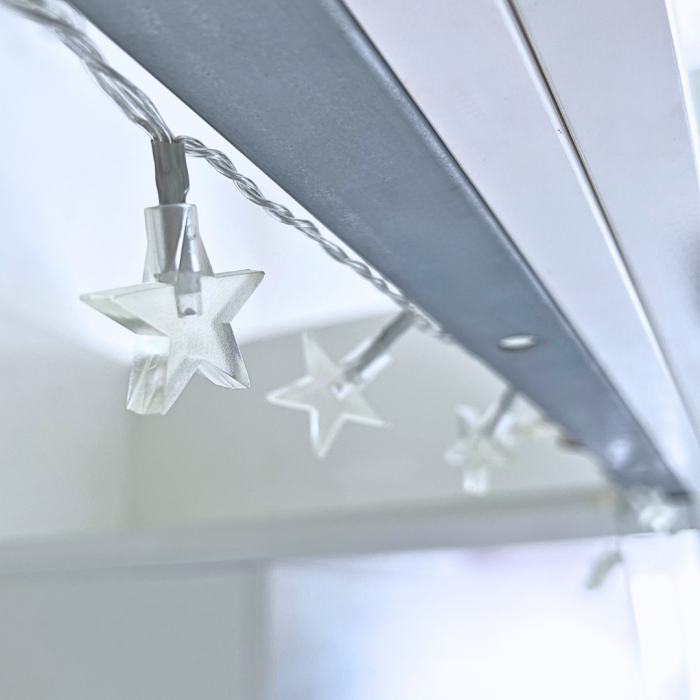
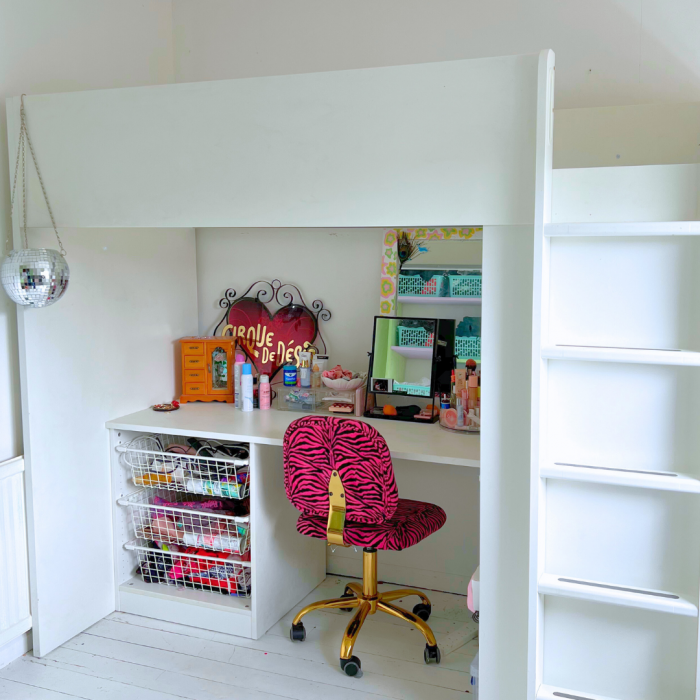
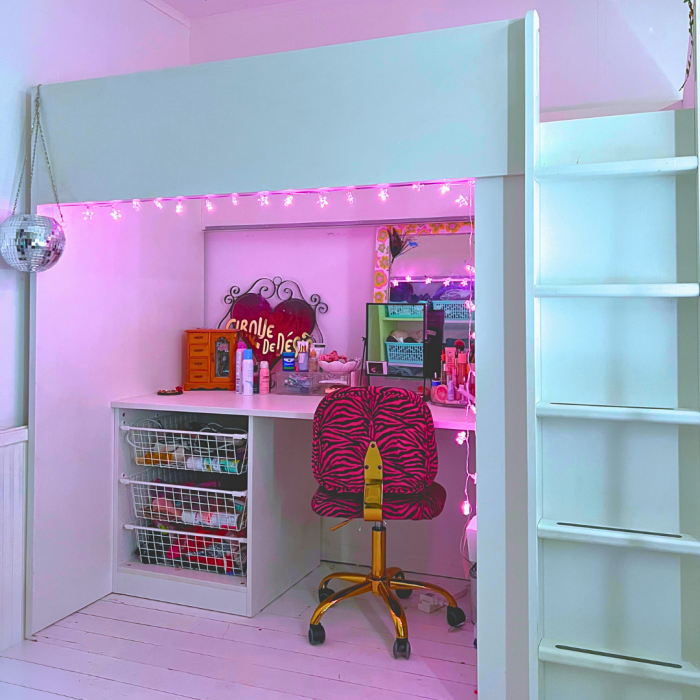
You’ll Need:
- A pack of cable tie magnets
- Your choice of wired lights/ fairy lights
- A ferrous surface
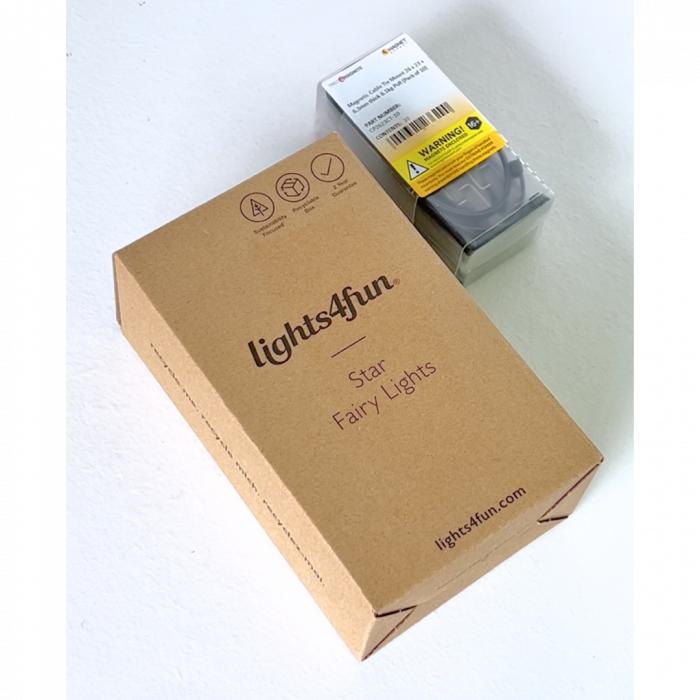
Step By Step Guide:
- Prepare Your Magnets:
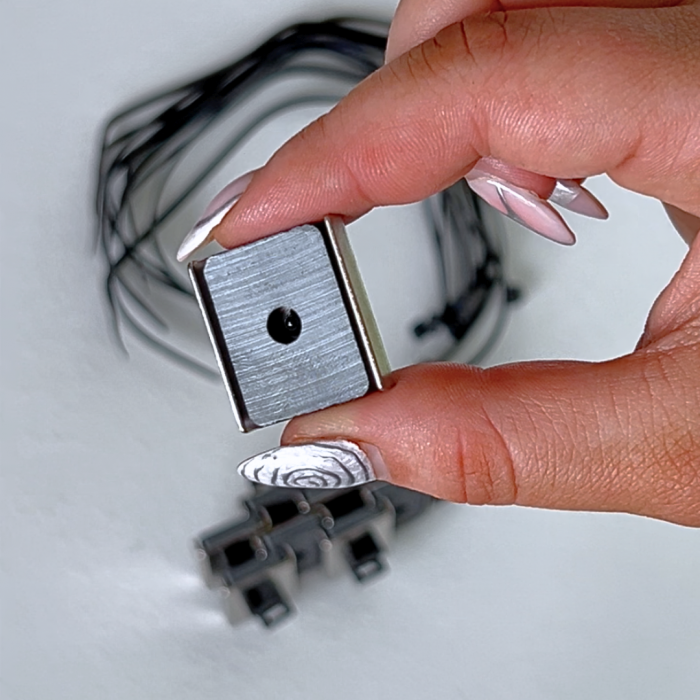
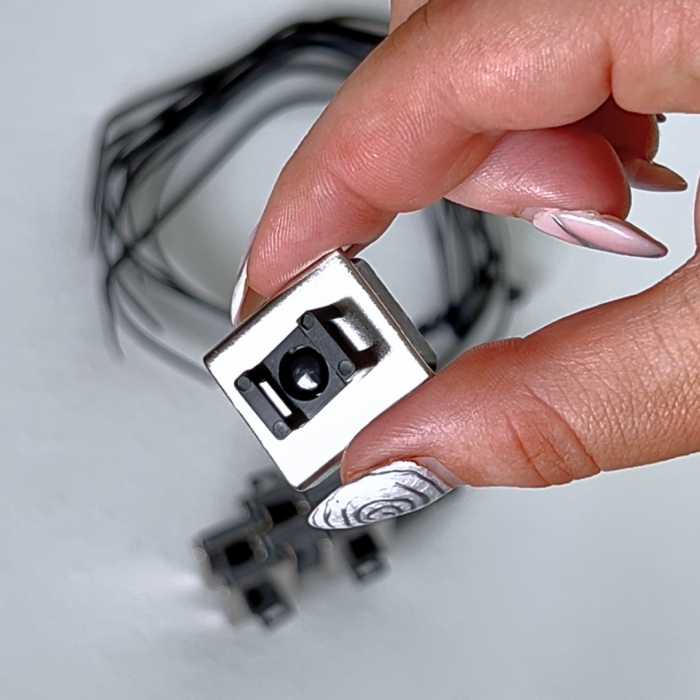
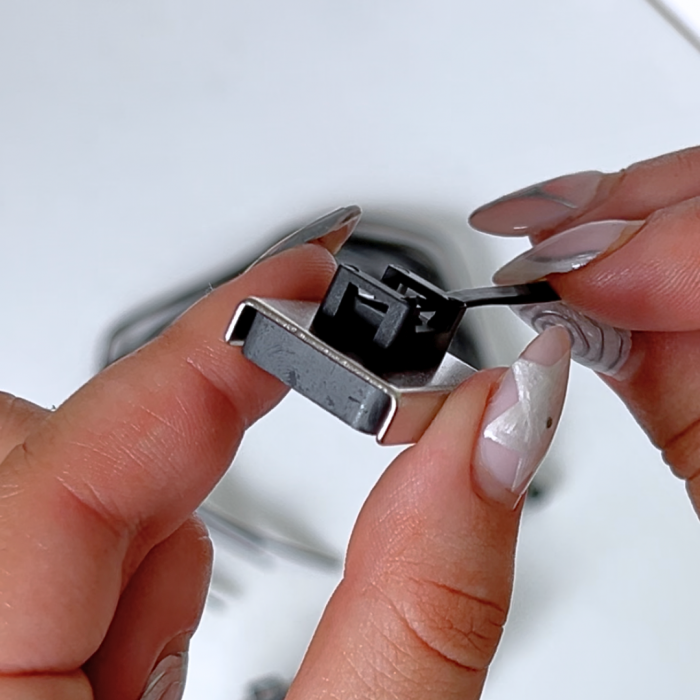
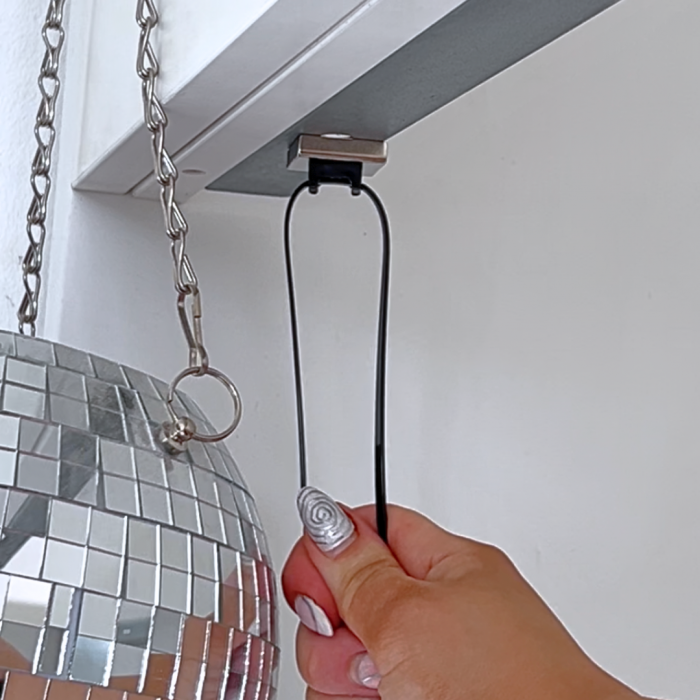
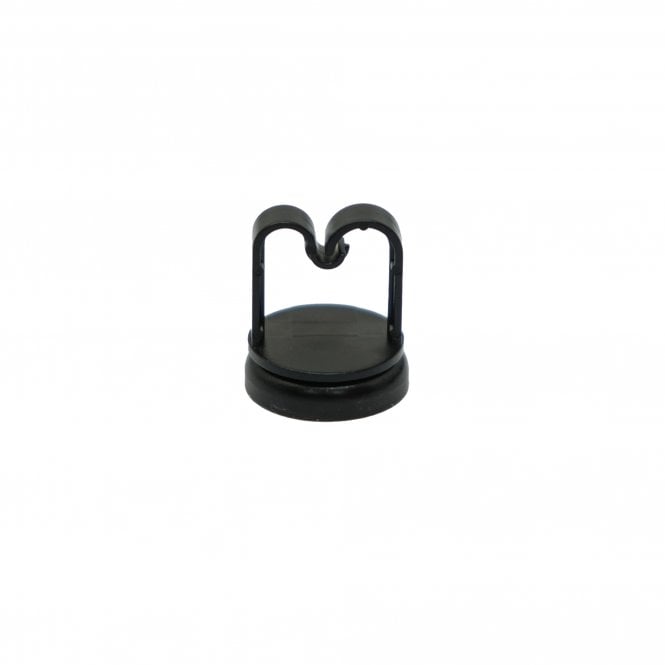
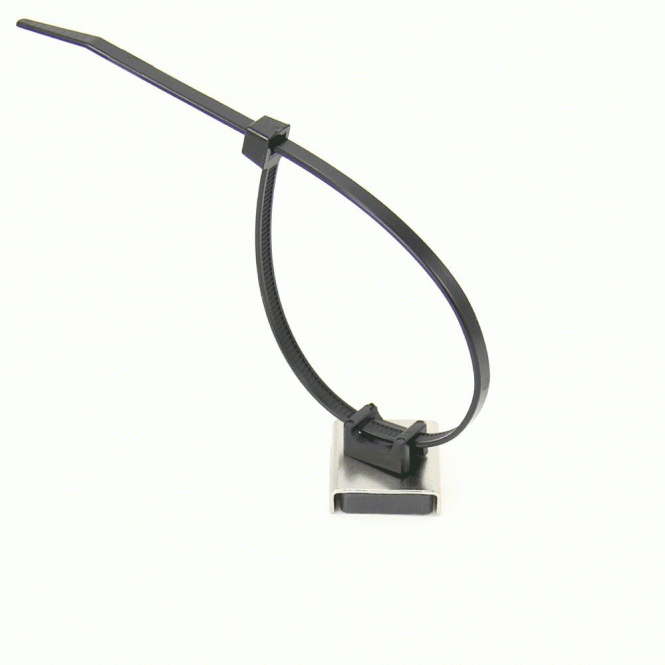
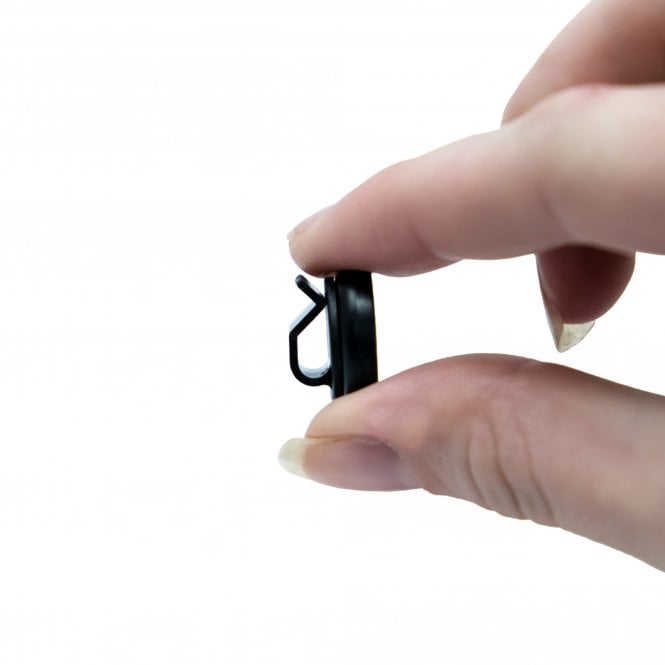
- Gather the cable tie magnets. These are small, strong magnets with a loop for securing cable ties.
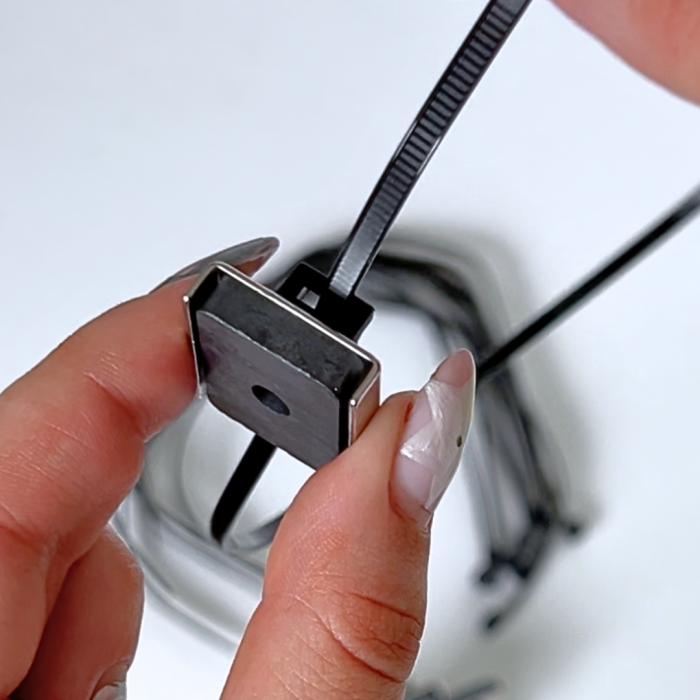
- If your magnets are not pre-attached to the cable ties, thread a cable tie through the loop on each magnet.
2. Attach Magnets to the Surface:
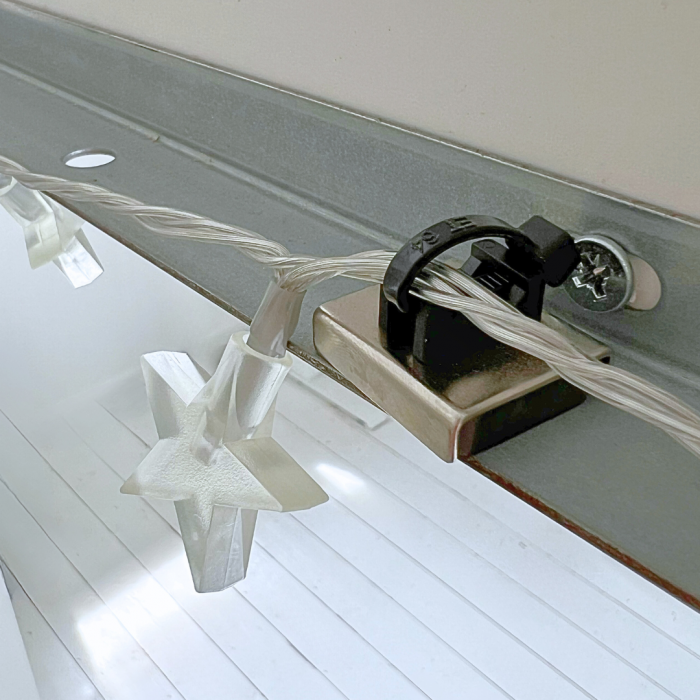
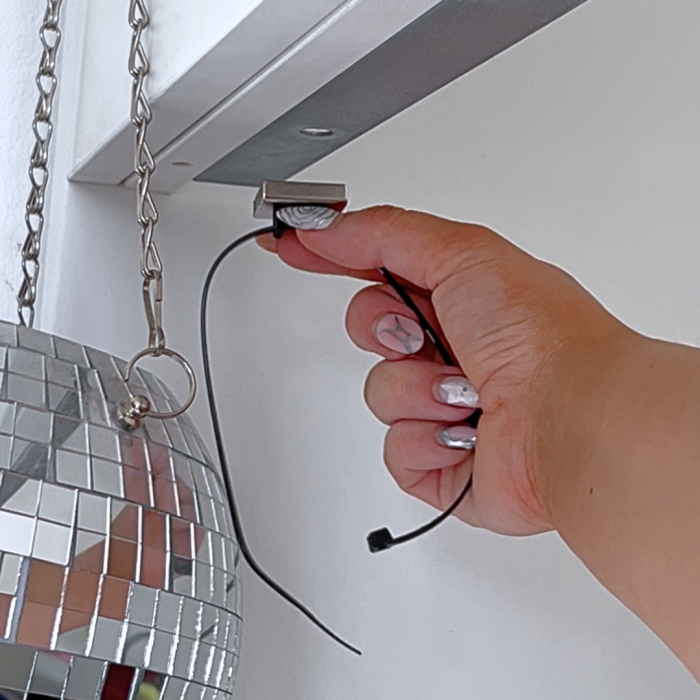
- Place the magnets on your chosen surface. They should stick firmly to metal surfaces like steel beams, metal shelves, or appliances.
- If you’re attaching them to a non-metallic surface, use adhesive magnetic strips to create a magnetic surface. Ensure the surface is clean and dry before applying the adhesive strips.
3. Secure the Fairy Lights:
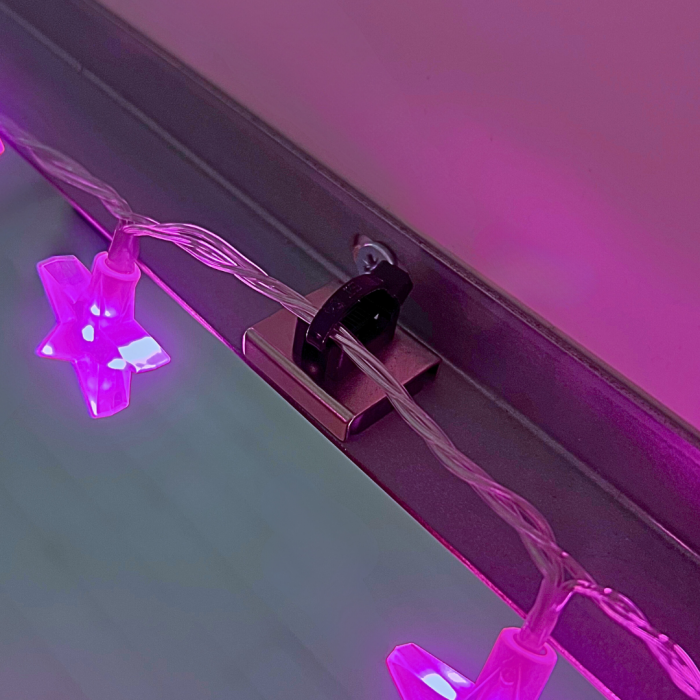
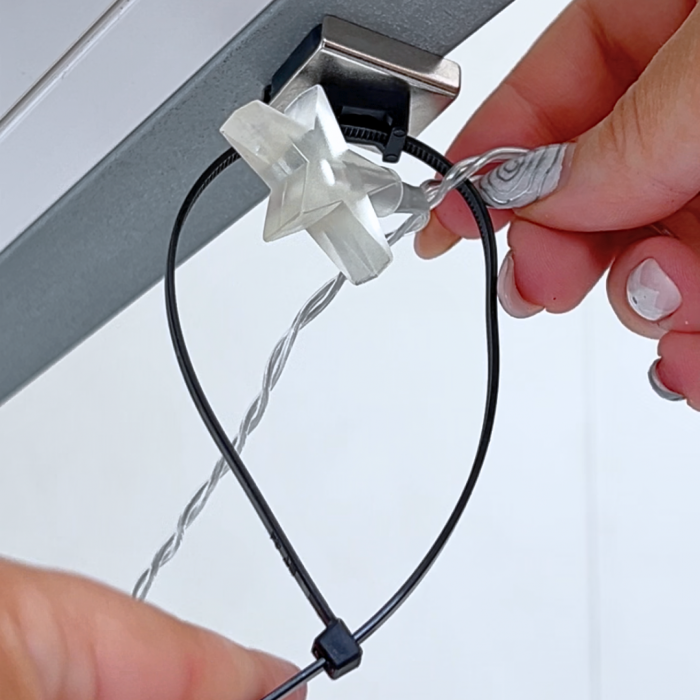
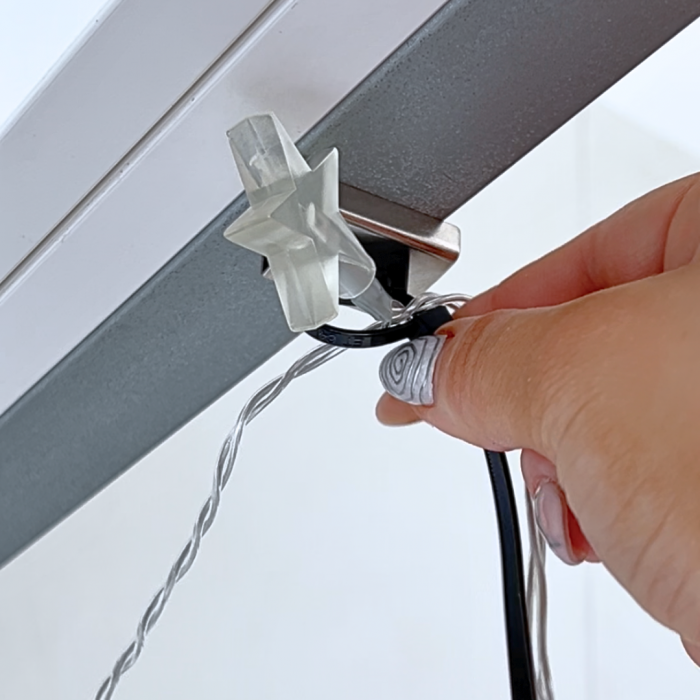
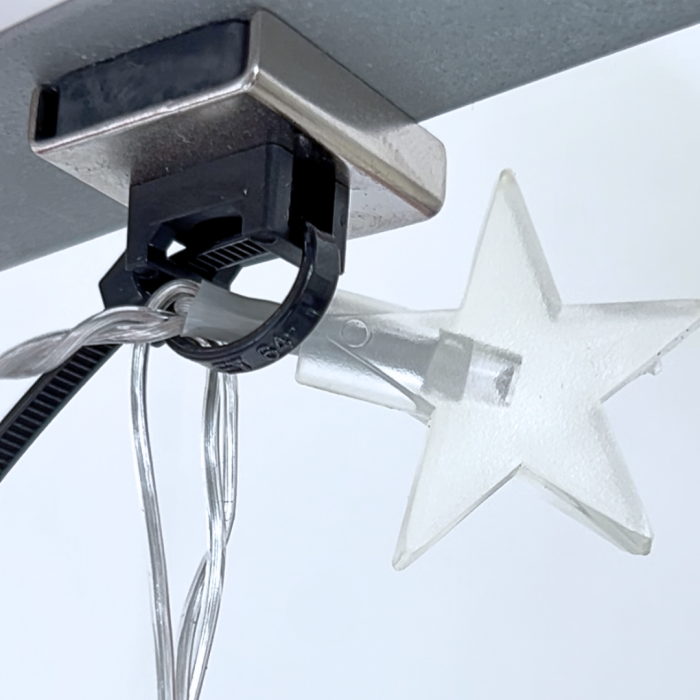
- Start at one end of your fairy lights. Loop the first section of lights through the cable tie attached to the first magnet.
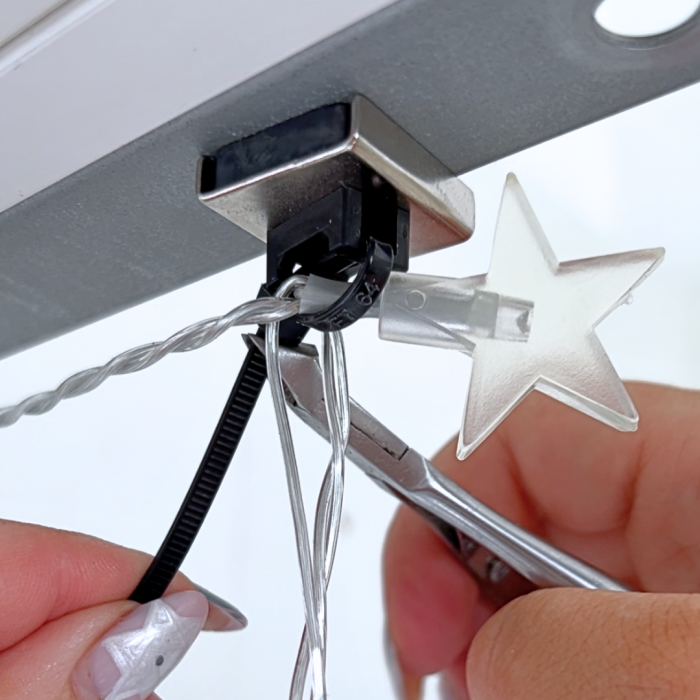
- Tighten the cable tie to secure the lights in place, but be careful not to overtighten, which could damage the wires.
- Continue this process, working your way along the marked path and securing the lights at each magnet with a cable tie.
4. Adjust and Finalise:
- Once all the lights are in place, plug them in to check the alignment and make any necessary adjustments.
- Trim any excess cable tie ends for a neat finish.
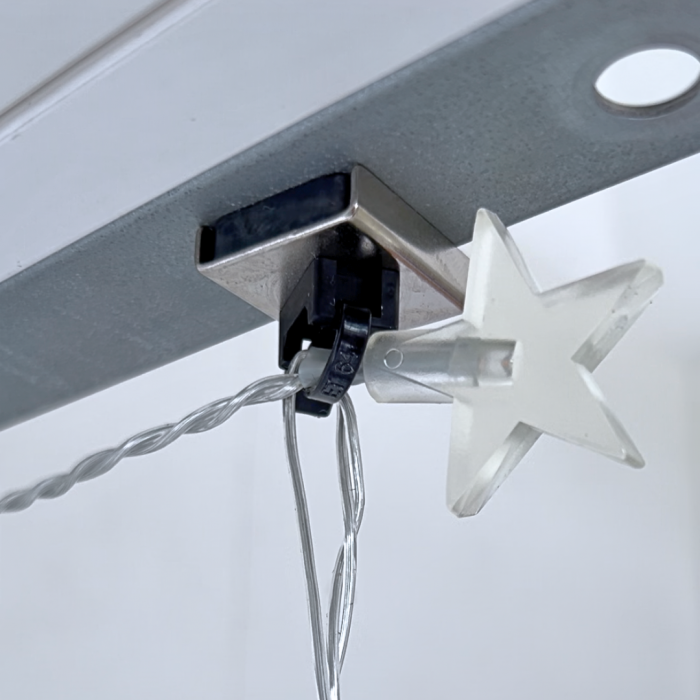
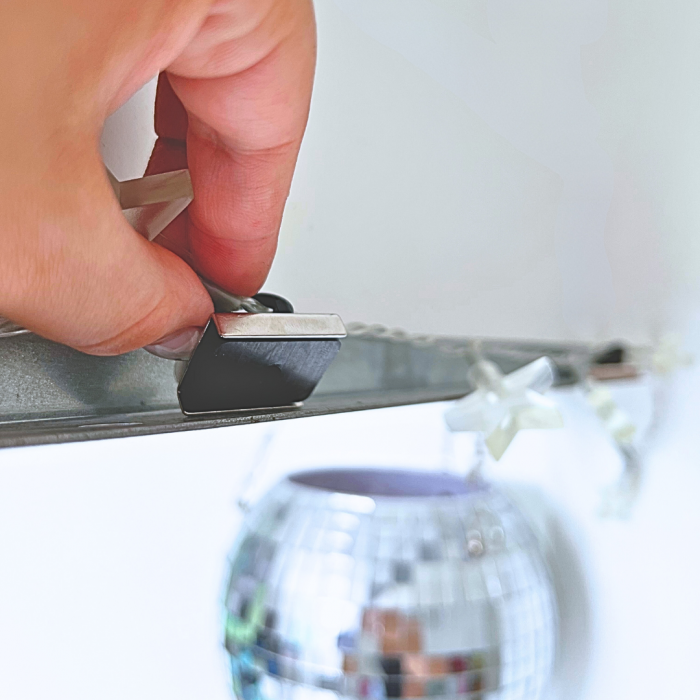
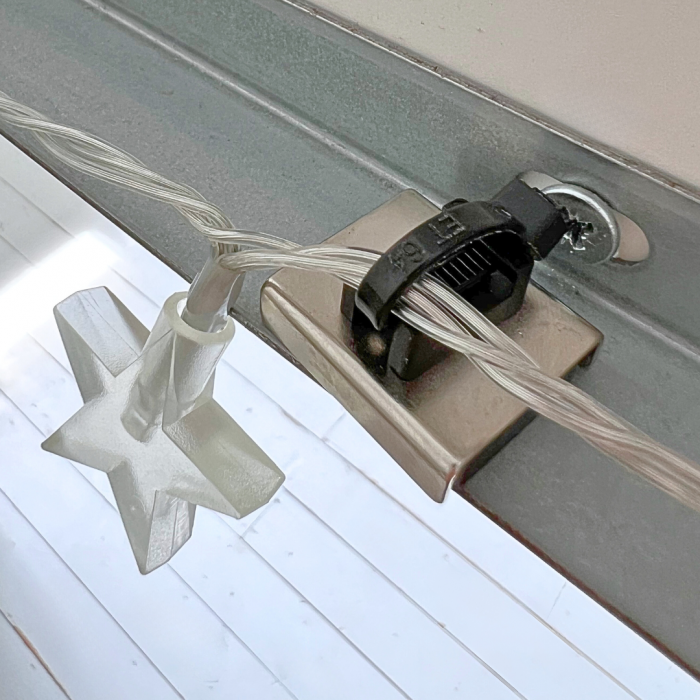
A Smart and Efficient Alternative to Pins and Nails
The Possibilities Are Endless
Using cable tie magnets to hang fairy lights is a smart and efficient alternative to traditional methods like pins and nails. This method not only preserves the integrity of your walls but also offers flexibility and ease of use. If you’ve been hanging fairy lights wrong the whole time, now is the perfect time to try out this new method. Whether you’re decorating for a special occasion or just adding a cozy touch to your home, cable tie magnets provide a reliable and reusable solution for all your fairy light needs. Give it a try and enjoy a hassle-free, beautiful display of lights!
