
How To Make Your Own Campervan Magnetic Blinds
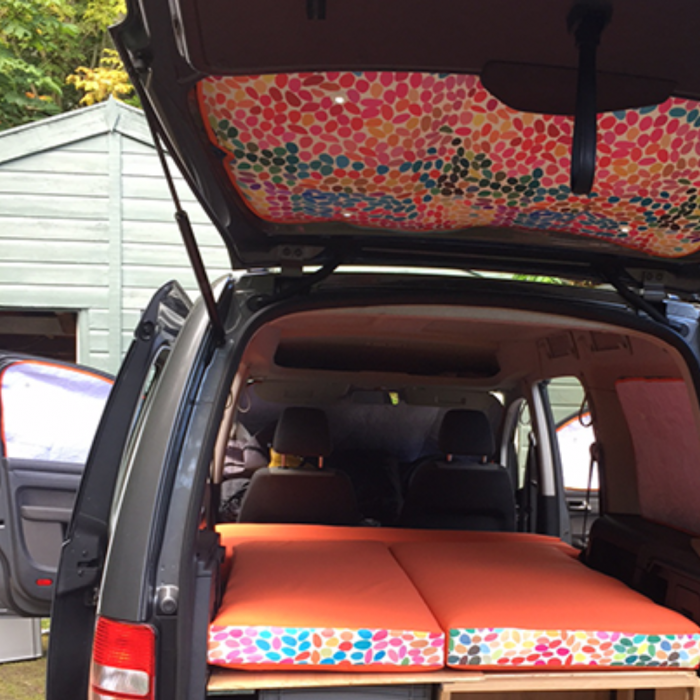
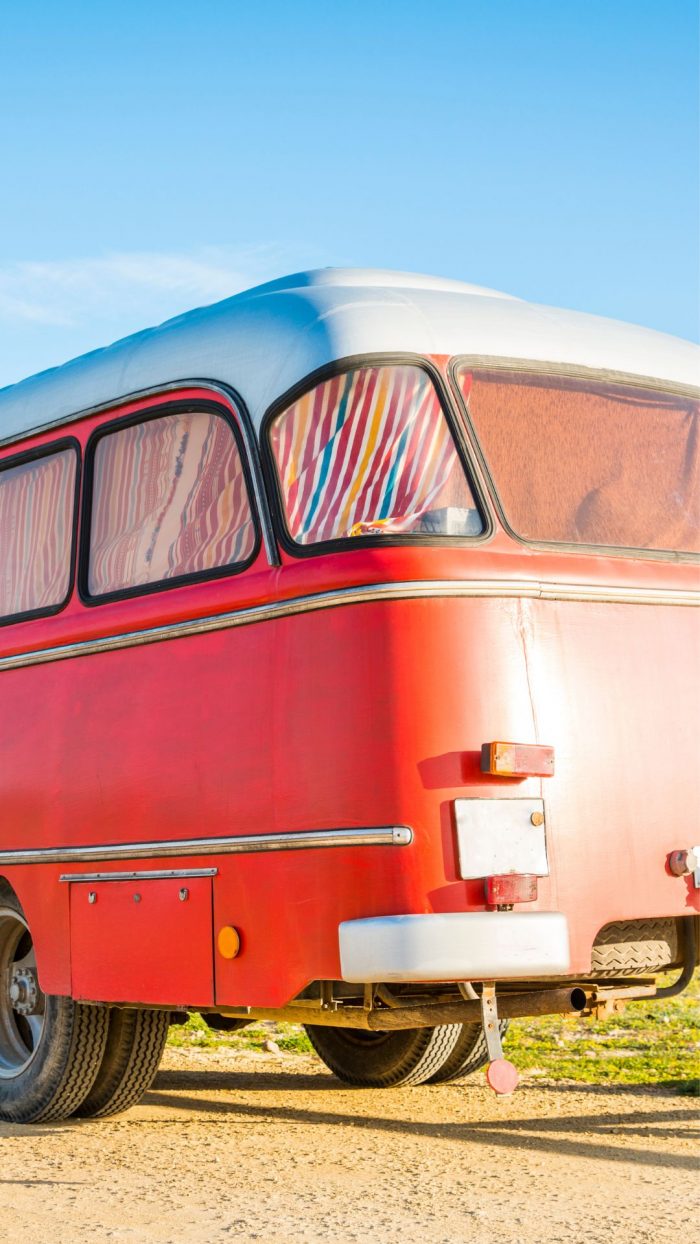
Transforming your campervan into a cozy, private haven is an essential part of the van life experience. One practical and stylish solution is to make your own magnetic campervan blinds. Not only do they provide privacy and insulation, but they also allow you to personalise your space with your favourite colours and patterns. This guide will give you what you’ll need and a step by step guide on how to make your own campervan magnetic blinds.
What You’ll Need To Make Your Own Campervan Magnetic Blinds
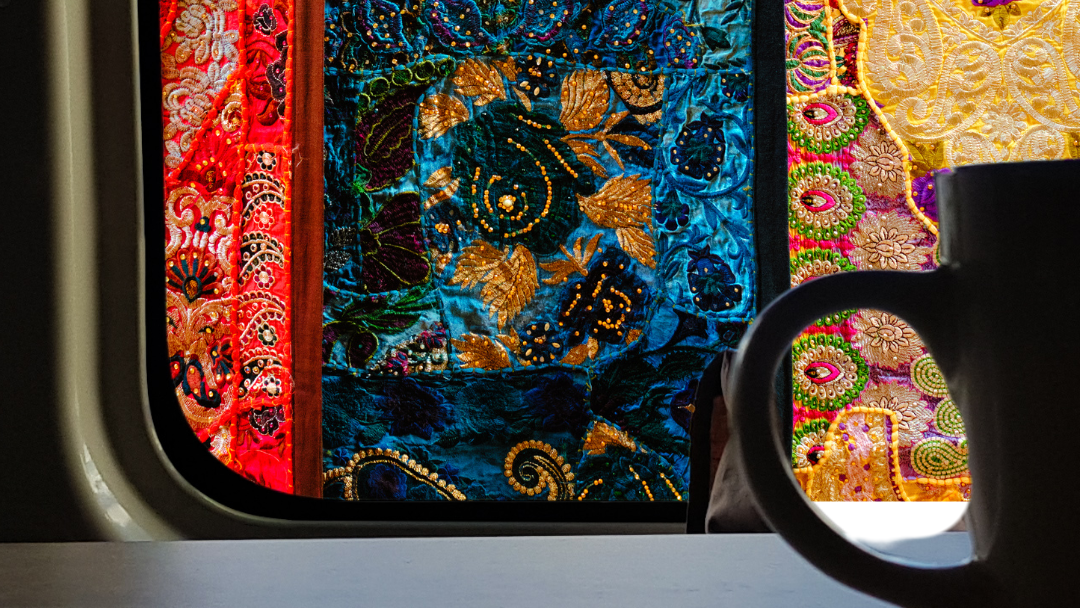
- Fabric of your choice (ensure it’s thick enough to block light but not too heavy to block magnetic pull)
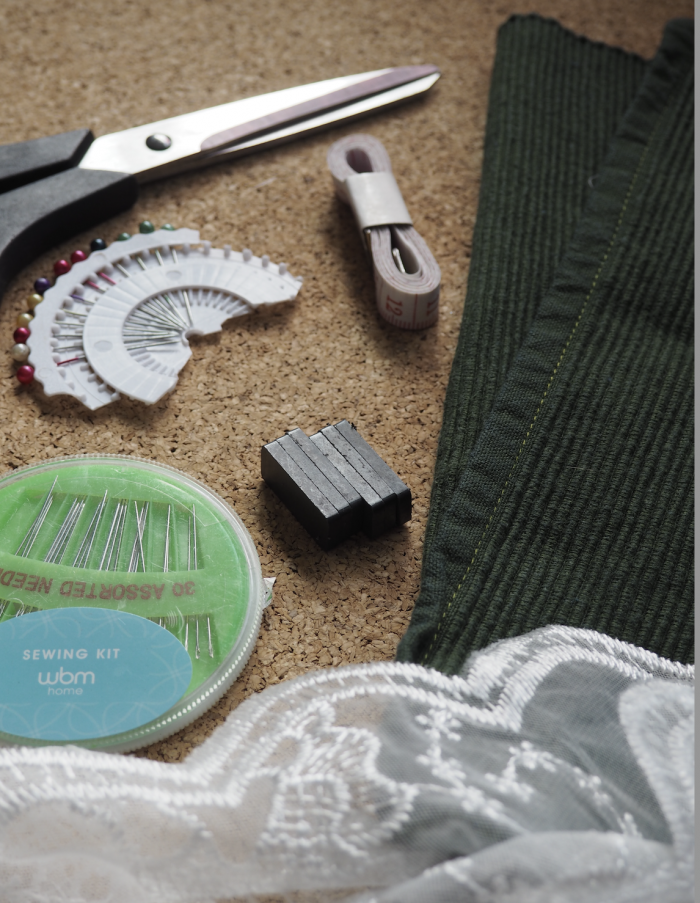
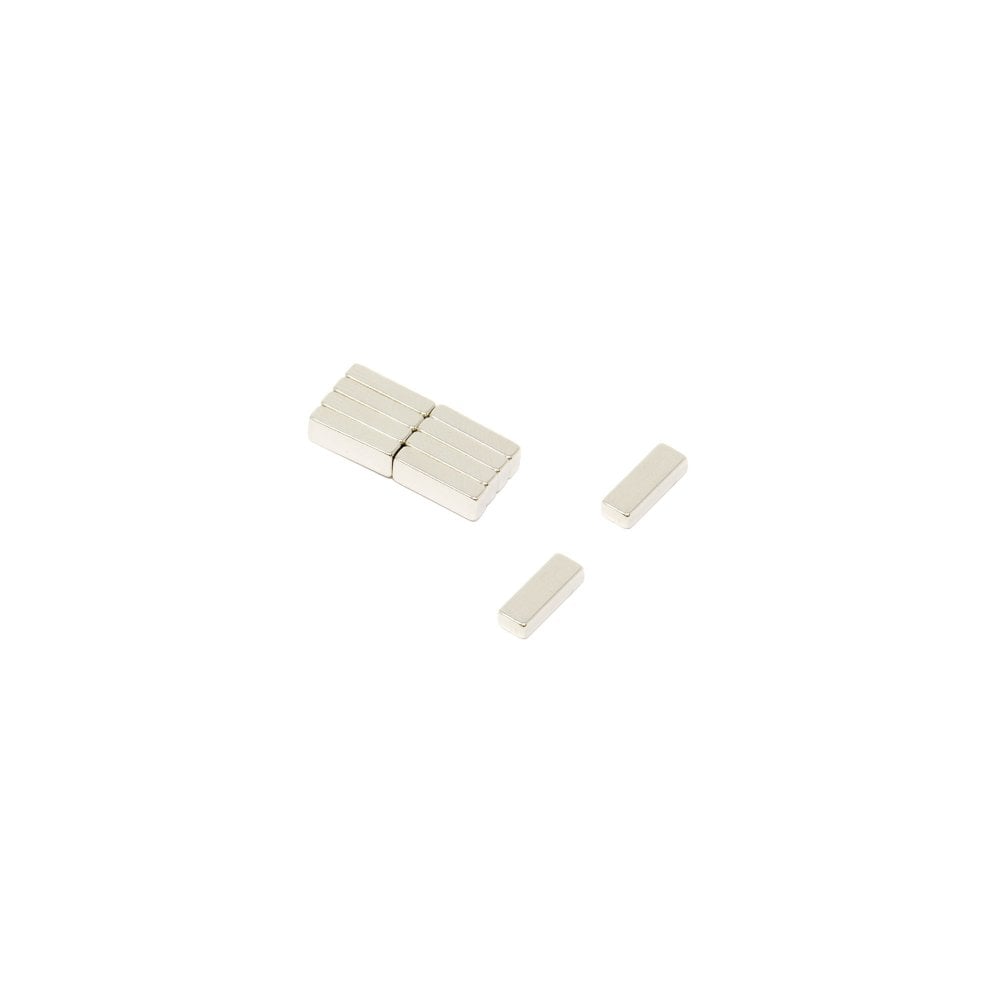
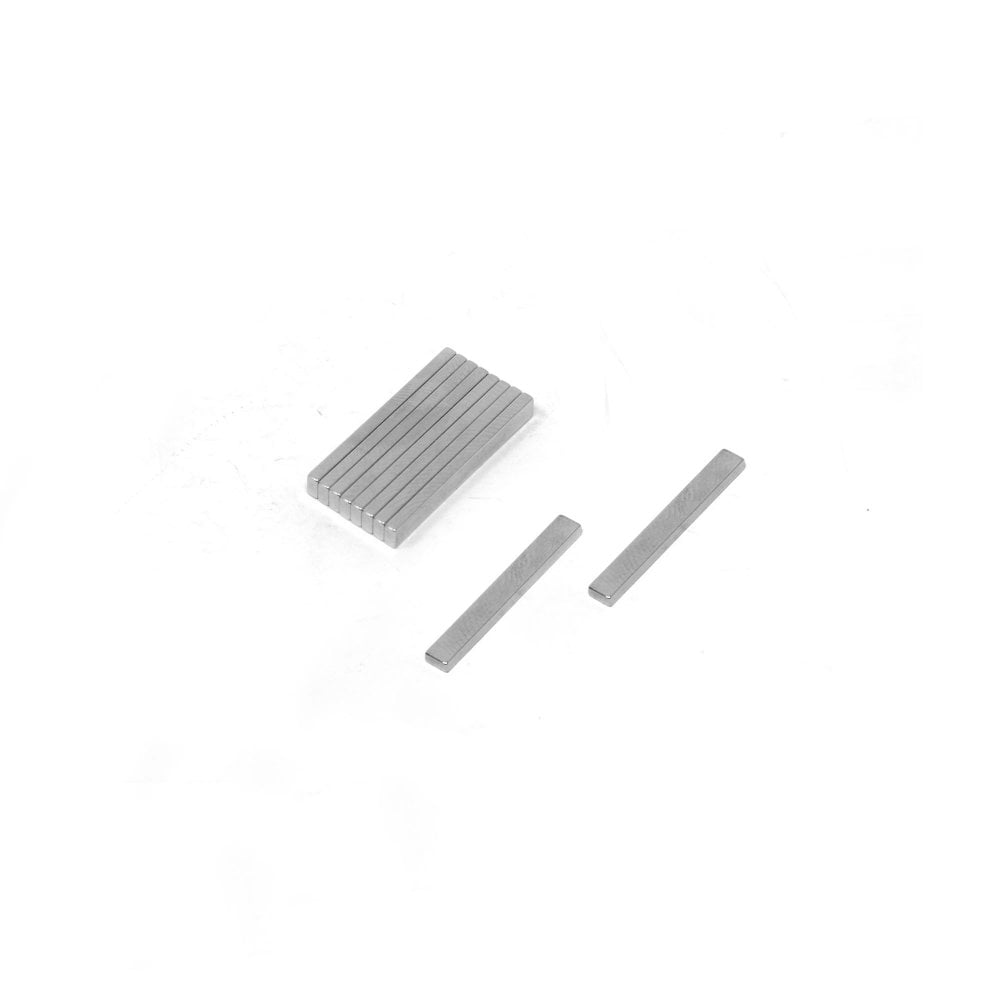
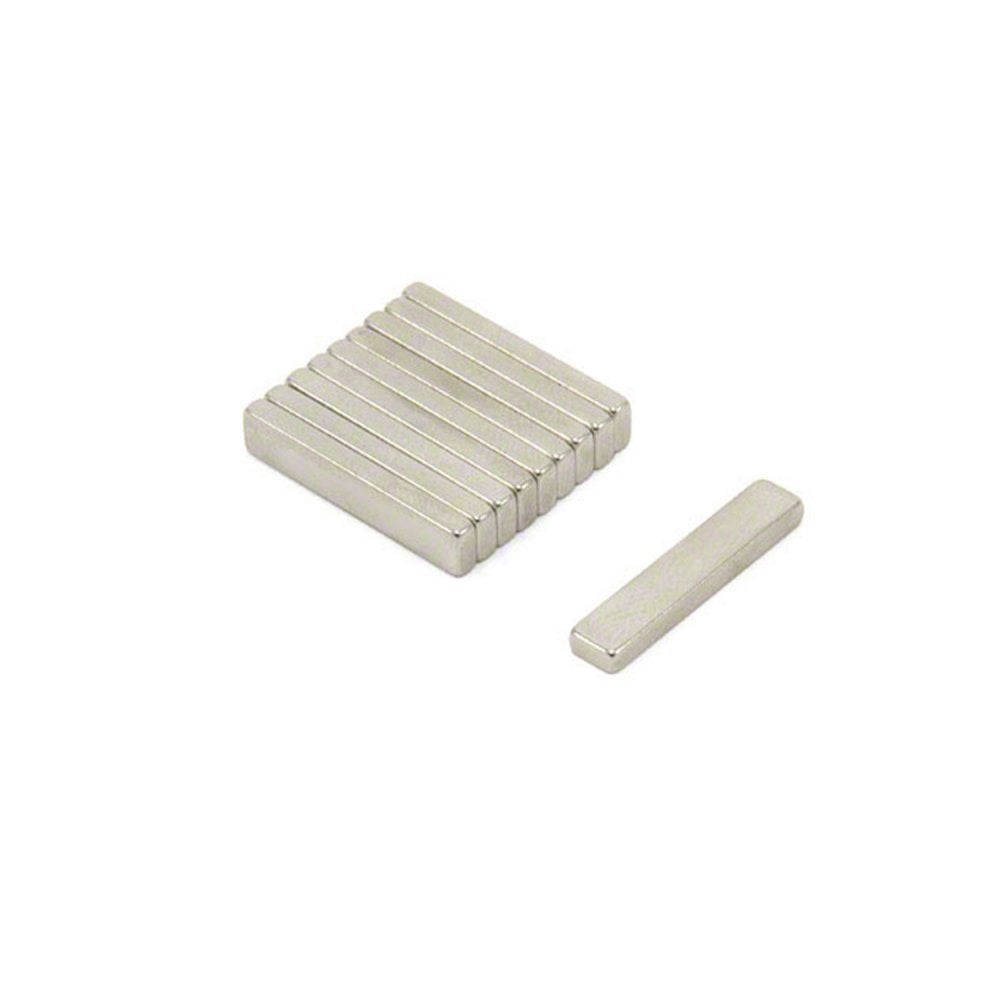
- Neodymium magnets (long, flat ones work best)
- Sewing machine (or needle and thread if sewing by hand)
- Measuring tape
- Scissors
- Pins or fabric clips
- Fabric pen or pencil
- Optional: fabric lining for added insulation
Step By Step Guide To Make Your Own Campervan Magnetic Blinds:
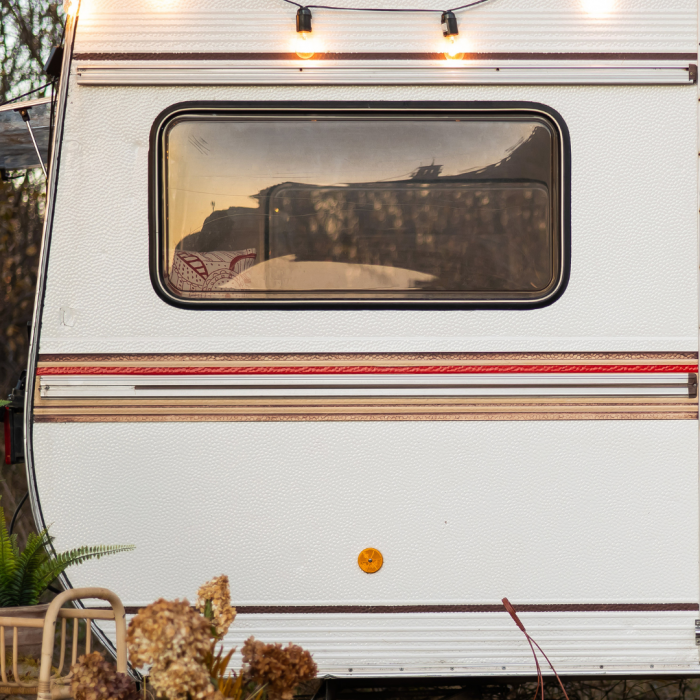
1. Measure Your Windows
Start by measuring the height and width of your campervan windows. Add an extra inch to each side for seam allowances. This will ensure your blinds cover the windows completely and allow space for sewing the magnets in.
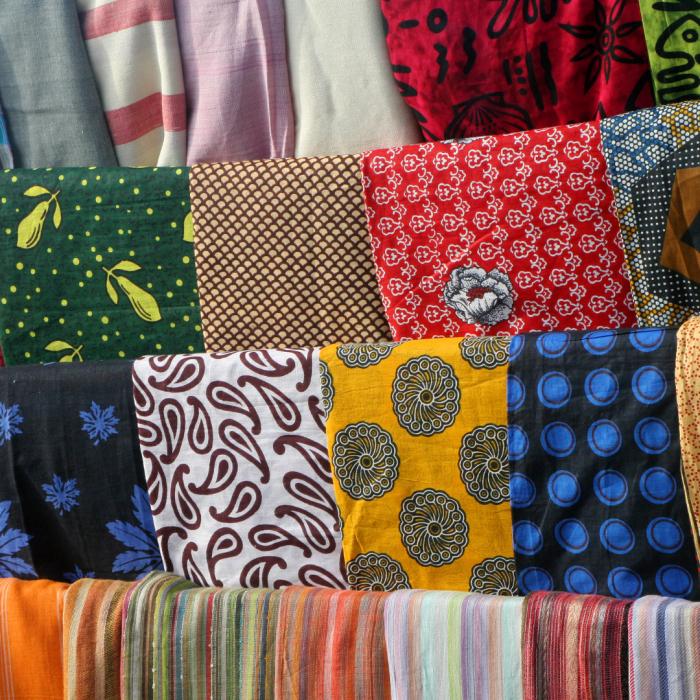
2. Choose and Prepare Your Fabric
Select a fabric that suits your style and needs. Whether you prefer a bold pattern, a calming color, or a fun print, the choice is yours. Pre-wash the fabric to prevent any shrinkage later on. Once washed and dried, iron the fabric to remove any wrinkles.
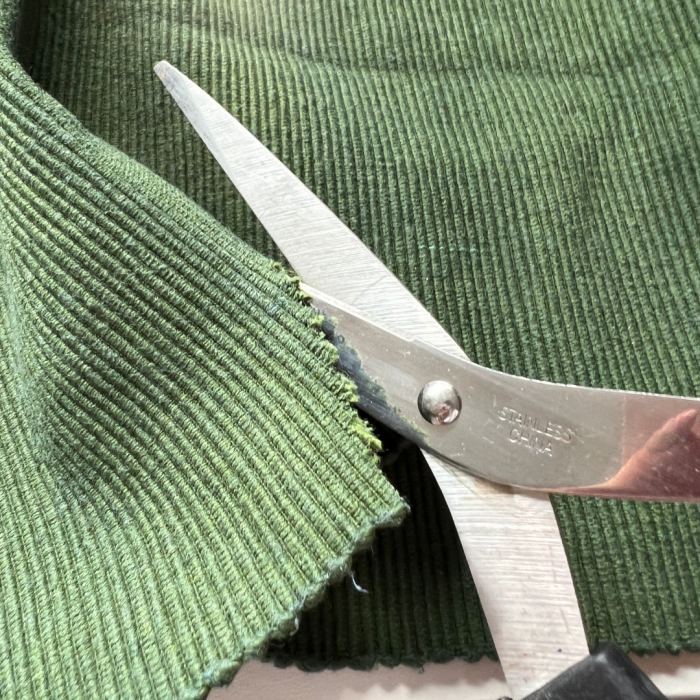
3. Cut the Fabric
Using your measurements, cut the fabric to the required size. If you’re using a lining, cut the lining fabric to the same dimensions.

4. Attach the Lining (Optional)
If you’re adding a lining, place the lining fabric and the main fabric together, with the right sides facing each other. Pin or clip the edges to keep them in place. Sew around the edges, leaving a small gap to turn the fabric right side out. Once sewn, turn the fabric right side out and iron the seams flat.
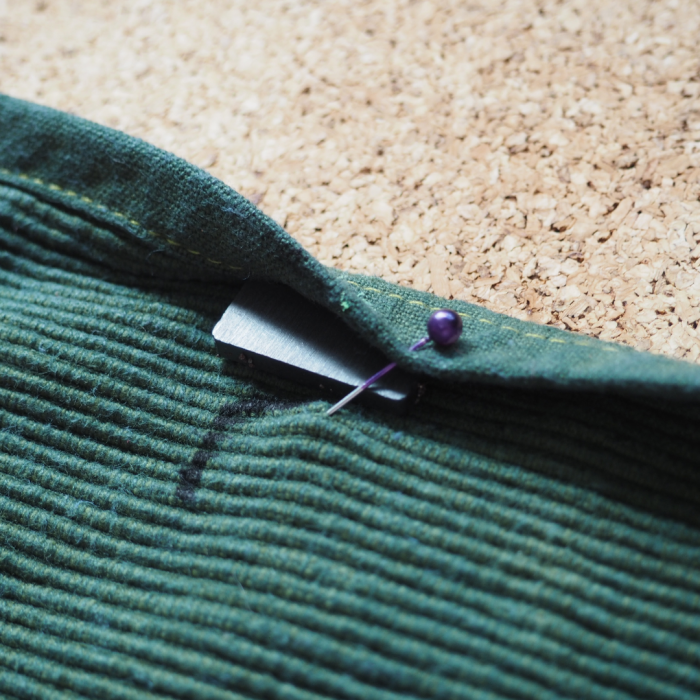
7. Secure the Magnets
Lay out the magnets along the edges of your fabric to determine their placement. Space them evenly, ensuring there are enough to hold the blinds securely against the window frame. Fold the fabric over the magnet to encase it and pin it in place.
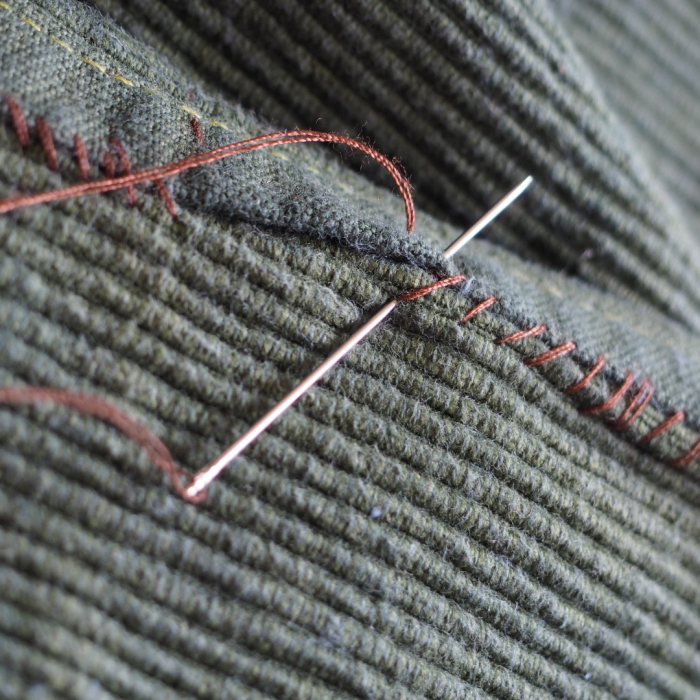
Sew In the Magnets
Sew along the line of the secured pins. Be sure to make the sewing tight and fit to the magnet, to stop magnets from slipping or attracting together. For the most secure hold, sew along all sides of the magnet.
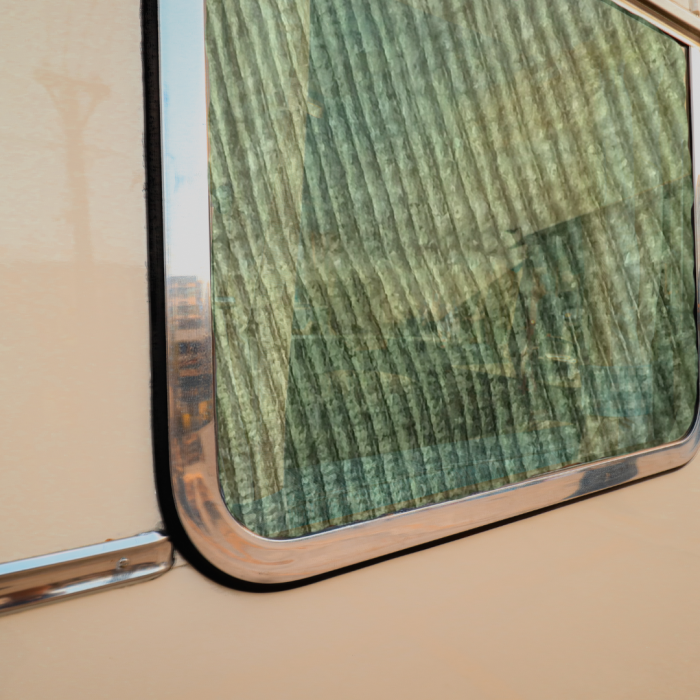
8. Test the Fit
Hold your new magnetic blind up to the window to ensure it fits properly and the magnets hold it securely in place. Adjust if necessary by repositioning the magnets or adjusting the fabric edges.
9. Customise Further
For an extra touch of style, consider adding embellishments like trim, tassels, or fabric paint to your blinds. You can also sew pockets into the blinds to store small items like maps or guides.
Tips For Making Your Own Campervan Magnetic Blinds
- Fabric Selection: Choose a fabric that is durable and easy to clean, especially if you plan to travel frequently.
- Magnet Strength: Ensure the magnets are strong enough to hold the fabric in place, but not so strong that they are difficult to sew through or manage.
- Neat Edges: Ironing the seams and edges before sewing helps achieve a neat, professional finish.
- Personalisation: Use fabric markers, stencils, or patches to add a unique touch to your blinds.
Benefits:
1. Easy Installation and Removal
- Effortless Setup: Magnetic blinds can be quickly attached and detached from the window frame without the need for curtain rods or hooks.
- Adjustable Positioning: Easily reposition the blinds to allow varying levels of light and privacy as needed.
2. Space Efficiency
Magnetic Blinds:
- Compact Storage: When not in use, magnetic blinds can be folded or rolled up, taking up minimal space.
- No Bulky Hardware: Without the need for curtain rods, you save valuable interior space, which is especially important in a small campervan.
3. Enhanced Privacy and Light Control
Magnetic Blinds:
- Secure Fit: Magnets ensure that the blinds stay flush against the window, providing better coverage and preventing gaps that could compromise privacy or let in light.
- Custom Fit: You can tailor the blinds to fit your windows perfectly, ensuring maximum coverage and privacy.
4. Improved Insulation
Magnetic Blinds:
- Tight Seal: The magnetic edges help create a tighter seal against the window, which can improve thermal insulation, keeping the van cooler in summer and warmer in winter.
- Optional Lining: Adding a thermal lining to the blinds can further enhance their insulating properties.
5. Customization and Style
Magnetic Blinds:
- Personalised Design: Choose from a wide range of fabrics, colors, and patterns to match your personal style and the interior of your campervan.
- Creative Embellishments: Easily add trims, tassels, or fabric paint to make your blinds unique.
6. Durability and Maintenance
Magnetic Blinds:
- Easy Maintenance: Magnetic blinds can be easily removed for cleaning, making maintenance straightforward.
- Durability: With fewer moving parts and no reliance on curtain rods, magnetic blinds are less likely to suffer wear and tear.
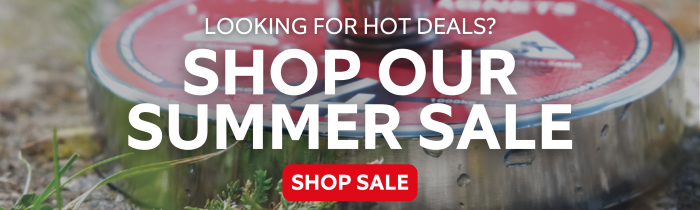
Don’t Miss Out on These Hot Deals!
Our summer sale won’t last forever. With discounts up to 70% off, now is the perfect time to stock up on these fantastic magnetic products. Whether you’re gearing up for summer adventures, organising your home, or tackling new projects, we have the perfect solutions at unbeatable prices. Visit our store today and make this summer unforgettable